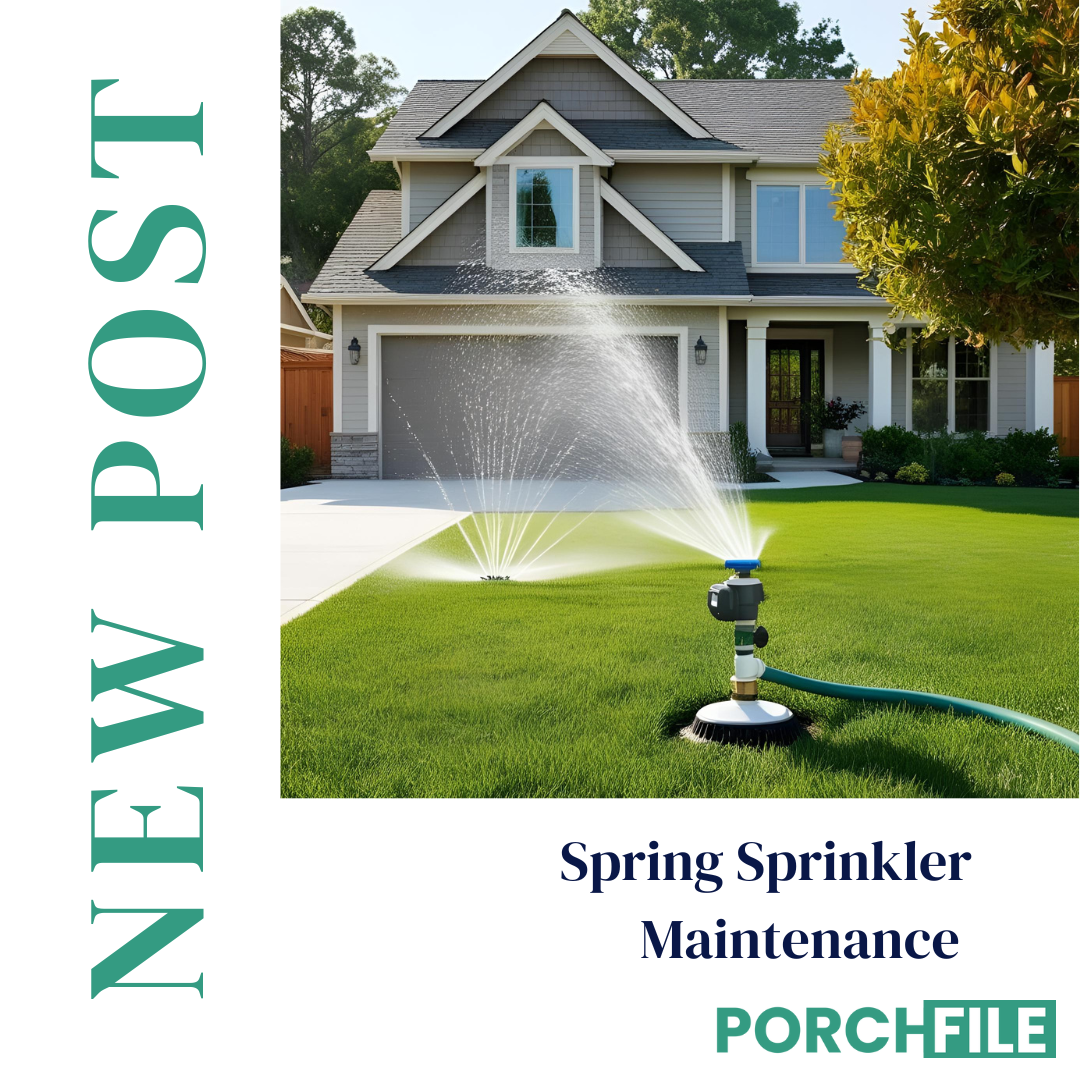
As winter fades and warmer temperatures arrive, it’s time to ensure your sprinkler system is ready for spring. A properly maintained irrigation system keeps your lawn and garden thriving while preventing costly repairs and water waste. Before turning your system back on, taking a few proactive steps can save you time, money, and frustration later in the season.
Why Spring Sprinkler Maintenance Matters
- Prevents Costly Repairs– Catching leaks, cracks, or clogs early can prevent major damage and expensive repairs.
- Saves Water & Lowers Bills– A well-maintained system ensures water is distributed efficiently, reducing waste and keeping costs down.
- Promotes a Healthy Lawn– Proper irrigation prevents dry patches, overwatering, and soil erosion, helping your lawn and plants flourish.
- Avoids Landscape & Foundation Damage– Leaks or misdirected sprinklers can cause flooding or erosion, which may lead to bigger structural issues.
Step-by-Step Guide to Spring Sprinkler Maintenance
1. Inspect the System Before Turning It On
Before running water through your sprinkler system, take a walk around your yard and visually inspect all sprinkler heads, valves, and pipes. Look for things like cracked or broken sprinkler heads, debris clogging nozzles, and or signs of leaks or water pooling. If you notice any damaged sprinkler heads, replace them before turning the system on to avoid further damage.
2. Slowly Turn the Water Back On
After months of inactivity, it’s essential to turn your sprinkler system back on slowly to prevent a sudden surge of water pressure, which can cause pipes to burst. First, locate the main water valve and turn it on gradually. Then, listen for any unusual noises, such as hissing or banging, which may indicate leaks or pressure issues. If you’re unsure how to adjust the water pressure, check your sprinkler system’s manual or consult a professional.
3. Test Each Sprinkler Zone
Once the water is flowing, run each sprinkler zone separately to check for the following: Proper spray patterns (no overspraying onto sidewalks or driveways), even water distribution, and any clogged nozzles or weak water flow. If a sprinkler head is clogged, gently clean it with a small brush or soak it in vinegar to remove mineral deposits.
4. Check for Leaks and Adjust Coverage
Leaks in your system waste water and increase your bill. Look for things like wet spots or puddles near sprinkler heads or pipes, water bubbling up from the ground, and/or sprinkler heads that continue dripping after the system is off. Adjust sprinkler heads to ensure proper coverage. Remember, you want water hitting your lawn, not your driveway or sidewalk!
5. Program Your Sprinkler Timer for Spring Watering Needs
Spring weather can be unpredictable, so adjust your sprinkler schedule based on seasonal needs. Start with 2-3 watering days per week (increase in summer as needed). Be sure to water in the early morning (before 10 am) to minimize evaporation. Adjust run times based on plant/lawn needs as too much water can cause root rot. Many modern sprinkler systems have smart controllers that adjust based on weather conditions so consider upgrading for convenience and water savings!
When to Call a Professional
If you encounter major leaks or pipe bursts, water pressure issues or electrical problems with your system, It’s best to call a sprinkler professional to prevent further damage and costly repairs.
Looking for more home maintenance tips? Download our FREE checklist today HERE!
Ready to start your Porchfile? Sign up HERE!


 Previous Post